Alice in Wonderland: Painting

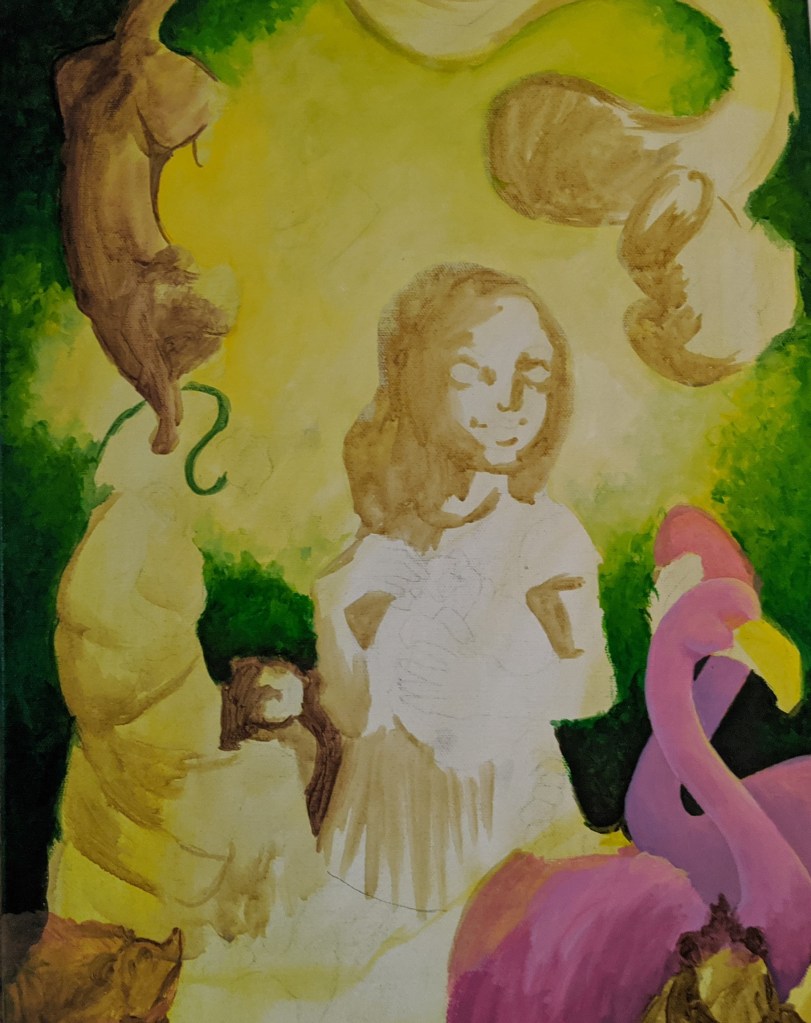
Finally, it’s time for painting. I don’t have much to say about my process. I keep things fairly simple. No special tricks or magic tools, just a bunch of familiar steps built over years of painting practice. 

Most of my paint is Windsor and Newton Professional Acrylic. I do have a couple of tubes of  Galleria (Windsor and Newton’s student range) as well as some Atelier tubes, but for the way I work, the Windsor and Newton Professional range feel the best.

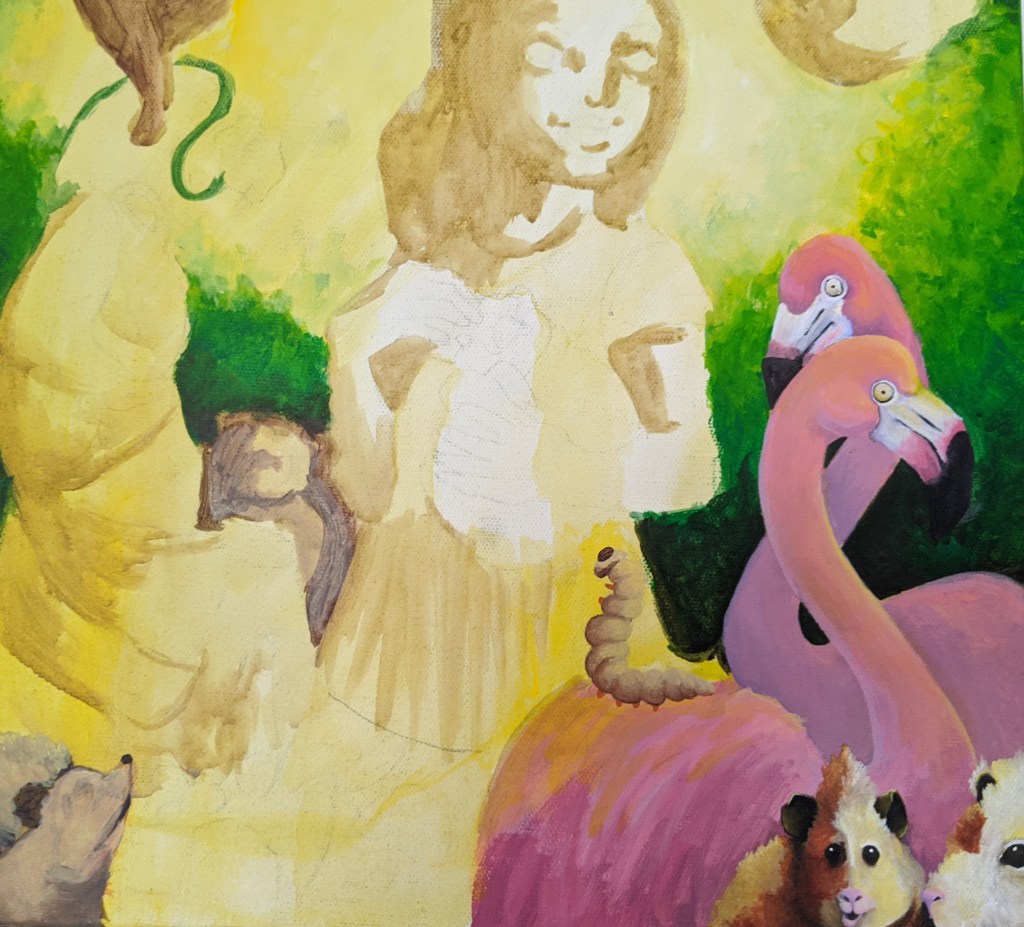
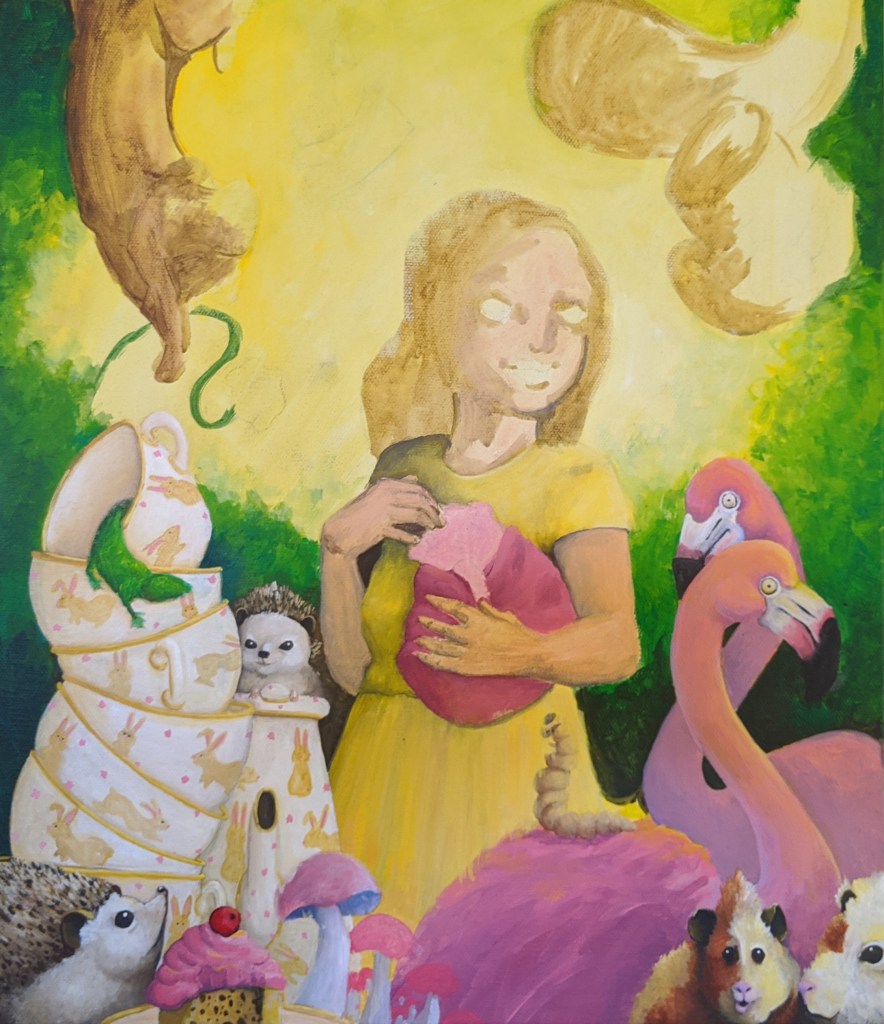
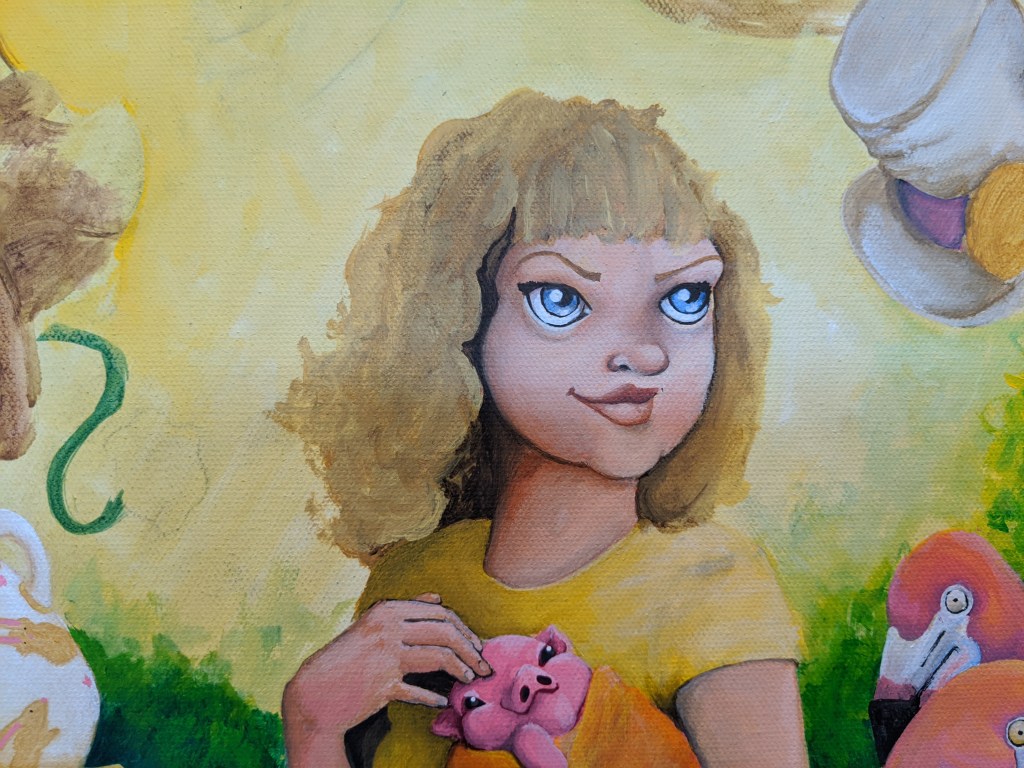
For brushes I use a large, square to wash in the background, but the rest of the painting is done alternating between three differently sized round brushes. As for the actual technique, I can best describe it as layering on thin washes of colour and softly (but quickly) blending lights into darks until I get the desired gradient.

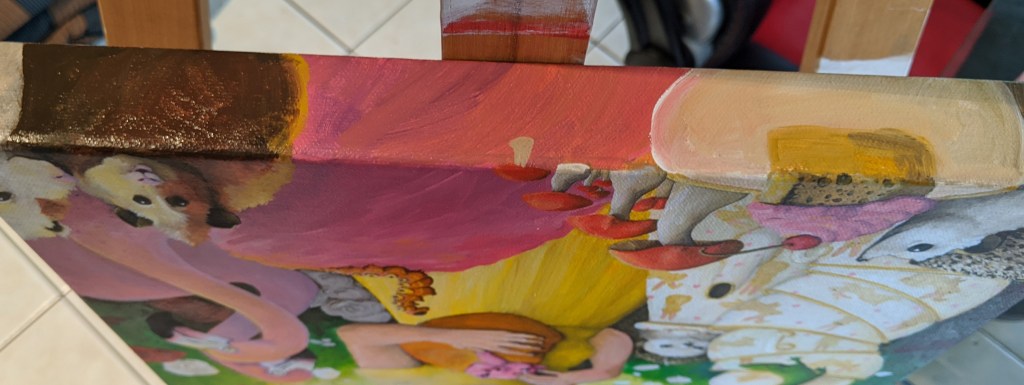
In future, I would love to video the whole process, but I don’t really have the right setup for it. For now, I can offer a photographic journey.

Next up: The Final Painting

Alice In Wonderland: Painting Preparation

With the sketch done, it’s time to prepare the canvas for painting. Word of wisdom, buy the canvas before deciding on what size to make your sketch. I, of course, did not work with this sort of wisdom and alas, when I went canvas buying, could not get the exact dimensions that I needed. The best canvas I could find was a little wider than the sketch, but not quite as tall.


With some tracing paper, a pair of scissors and ample floor space, I got to work making adjustments to my composition. Satisfied with the new positions, it was time to transfer. Another feat accomplished thanks to tracing paper. I make sure to put only the main lines down. They are fairly light on the canvas, and serve as a guide for the initial layers of colour.


Speaking of colour, I need to make some decisions on my palette choice. I paint out a few quick colour studies to get a feel for the atmosphere. For me, the yellow one best brings out the kind of vibe I’m aiming for.


Lastly, I prepare a reference board.


And now it’s time to paint.

Alice in Wonderland: The Sketch

After hashing out the idea for my Alice illustration in a few rough doodles, I jump right into the final sketch. This sketch is something of an exploratory process. I’ve got the basic idea of how I want the image to look, but I haven’t worked out the finer details yet. There is a lot of back and forth with erasing and drawing and erasing again, particularly in areas like the hands where getting the pose just right can be tricky

The sketch is A3 in size, done on an A2 sheet of Canson Artists Series Drawing Paper, 220GSM. I used a 6B graphite pencil for the entire sketch. I find I can get both really light and really dark with 6B pencils and don’t have any need to switch between pencils. The final trusty tool is the kneaded eraser.

Here are some shots of the process with the final illustration at the end.


Next up: Transferring the sketch to canvas and getting ready for painting!

Behind the Scenes

I’m just in with a quick update on the things I’ve been busy with, primarily in the vein of “how not to do things!”

I am excitably working toward a tutorial series on concrete sculpture, but to do that, I first need to remember how to do it properly.  Aha! Also, I need to work out the intricacies of recording process. I’m having some success on that front, but also plently of failures. I’m learning how to edit video. Next on the list will be audio.

In the meantime, I am getting plenty of “What not to do” footage and it will totally add to the  completeness of the series so we can pretend I did it on purpose. 😉

A quick, visual journey of my activities:


Let us begin with a snapshot from the art of plaster moulds:


Hark! A tub of curing concrete scuplts! Note all the bugs and leaves that have fallen in. Also the strange surface floaty bits that I have, without any scientific backing whatsoever, decided must be related to the petroleum jelly used as a release agent. I am probably wrong.

cof


This, a small concrete sculpture that broke on demoulding because I got the cement to aggregate ratio wrong.  Ah, relearning you old fiend!


cof


And this, a giant pile of clay scraped from the depths of this one piece mould that really would work better as a two piece mould, but here we are!


cof


And Finally, a lovely demonstration of myself working on the part of the sculpture that’s facing AWAY from the camera. Also see: Wobble because I’m hitting the charging cable.


Another MerMay! Another Video!


Here is MerMay number 6! I went with a barnacle and seaweed look for this Mermaid. I rather like the barnacles and think I will explore them further throughout Mermay.

Video wise I have mostly removed the wobble. Except for that time I hit my phone with my shoulder… 😛 There is a small bit of sketch lost on the top of the screen which I do need to address, but otherwise I am pretty happy with my “making videos for YouTube” progress.

I hope you enjoy and Let me know what you think! 🙂